If you've only ever had "chili" out of a can, you're missing out. If you haven't enjoyed a good batch of home-cooked chili, you may be surprised how much more flavor it can have. Good chili ought to blow your mind! We're also going to couple this recipe with a straightforward explanation of meal-prep, so you can refrigerate a bunch to enjoy at a later date. Meal-Prep makes mealtime efficient and convenient, since you wouldn't want to make this meal 6 times. You make it once, and send the leftovers into the future to be devoured by future you. I want you to think of your fridge as a time-machine: When you're standing in front of it 4 days from now wondering what to eat, you'll see a serving of tasty chili ready to be reheated, and you'll thank your past self for sending you this package.

Additionally, you might want to invest in six Pyrex containers with lids, of either the 2-cup or 1-quart size. You can re-use these for years. Tupperware also works. In a pinch, you could really just fill up regular bowls and cover them with foil or Saran wrap. As a last resort, you can just refrigerate the chili in the stock pot, and eye-ball out portions as you go. Once cooked, it will keep for 5 full days without spoiling. You can alternately freeze several of them, which will stay good for 3-4 months. Freeze some of your leftover meals, and you'll always have prepared food ready to be reheated & eated. This makes meals so much easier!

Ingredients:
- Two 15oz. cans of Black Beans
- One 15oz. can of Pinto Beans
- One 15oz. can of Kidney Beans
- 36 ounces of 93% Ground Beef
 - 12 ounces of Tomato Sauce
- 20 ounces of Water
- Four ounces of Butter
- One Tablespoon Olive Oil
- One Tablespoon of Coconut Oil
- Two Tablespoons Balsamic Vinegar
- One Tablespoon of Maple Syrup
- 1/2 Tablespoon Spicy Brown Mustard
- Five large cloves of Garlic, diced

- 1/4 Cup of White Flour
- 1/4 Cup of Dark Red Chili Powder
- Two Tablespoons of Cumin
- 1/2 Tablespoon of Ancho Chili
- 1/2 Tablespoon of Salt
- 1 rounded teaspoon Black Pepper
- 1 teaspoon of Dill Weed
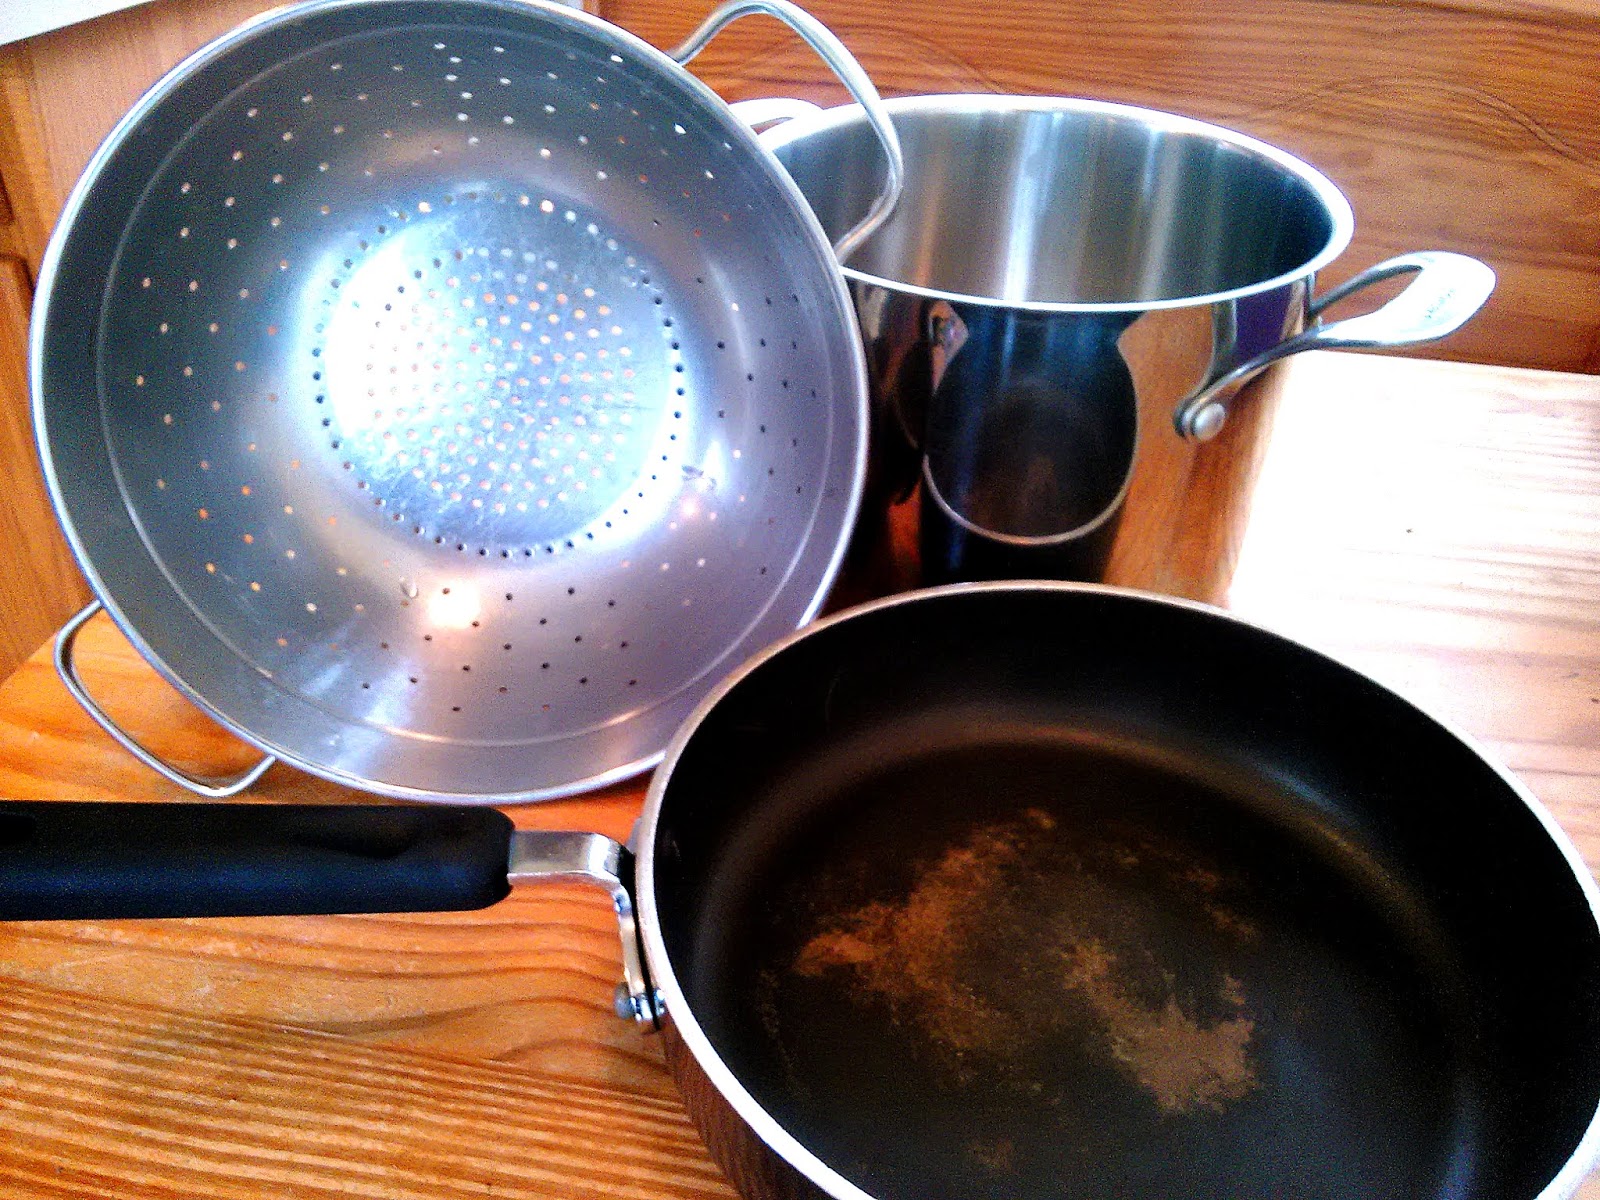
I've separated the ingredients into the main bulk elements of the recipe, the wet ingredients, and the dry ingredients. This will simplify how everything goes together. (A well-stocked kitchen should have most of this stuff on hand at all times). Alright, this is where we finally get started! Remove the lids on all four cans of beans, and pour them into the colander. Rinse them under cool running water, drain them, and put them into the stock put. Next, use the bottom of a drinking class to squish those beans into a pulpy paste. Sure, you could leave them whole, but increasing the surface area adds more places for added flavors to cling to.

 Okay, set the stock pot aside for a bit. This is when you want to dice up the garlic cloves. Put a Tablespoon of Coconut Oil into the frying pan (we're using coconut because it has a high smoke-point), and set the stove to medium-high; add the garlic and lightly brown it. Then add the beef to the pan, all of it! Add all 36 ounces of ground beef, mix it into the garlic, and mix it occasionally as you brown the beef.
 We want the ground beef to be browned throughout, and then turn the heat down to medium-low, while you prepare the spices. Spices are easy, just measure everything out into a separate bowl. All the dry spices are going to be evenly mixed first, then half of this mix will be added to the browned beef. Thoroughly mix them in, cover every bit of the beef with the spices. Believe it or not, this adds more flavor than just adding all of it to the bean paste.
While the spiced beef stays warm on low, start the stock pot with beans on a separate burner ten minutes ago, on medium heat. You will have added 12 ounces of tomato sauce and 20 ounces of water, and evenly mixed that into the beans. Add 4 Tablespoons (a half stick) of butter to the beans to melt, and mix it evenly.
(The purpose of the added fats is not only for nuanced flavor, but also to help emulsify the essential flavonoids in the spices. By solubilizing the spices, the oils will carry and distribute the taste throughout the chili). Beef is still resting on low-warm. Add all the other wet ingredients to the water/sauced bean paste: Vinegar, Olive oil, Maple syrup, Mustard. Stir and mix these in very well, then add the other half of your pre-mixed herb & spices powder, and stir them in too. The pot should be hot, steaming, starting to smell good. You should be using the flat spatula to bring up beans from the bottom, so they don't stick. After cooking on medium for about ten minutes, you're good to add the pre-cooked, pre-spiced ground beef. Also add the quarter-cup of flour. And again, mix everything thoroughly.

So on to the easiest but most important step: The chili needs to rest for 30 minutes. This is absolutely critical! If you tasted it now, you might be tempted to flavor it further, but as it sits and steeps, all the flavors will marinate and marry. The flavor will develop over time. Continue to keep the heat on medium-low, and stir the pot every 7-8 minutes. This step is non-negotiable. The acids in the tomato & vinegar will penetrate the meat, which help tenderize it. The soluble fiber in the beans will sponge up the flavor moisture. All those little flavor molecules will work themselves into every little bit of the chili. TIME is the final ingredient that completes this dish...

Must Be About Time To Wrap This Up
While you're waiting for the chili to finalize, set up your meal-prep containers. This recipe, using all the ingredients in the listed amounts above, will yield a total of roughly 3840 Calories. If this is divided equally among 6 containers, there will be 640 Calories per serving. The total macro breakdown looks like: 51g Protein, 24g Fat, and 55g Carbs. If you prepare a half-cup of rice to go along with it (or 3 cups ahead of time), you can add 360 Calories more, for a total of 1000 Calories per Chili & Rice Meal! Please note: You will require Quart-sized containers to fit both a serving of chili and a serving of rice. Let cool 15 minutes before lids & fridge.

 There's so much more to Life than "peanut butter / oatmeal protein shakes". Like, they help, and they serve a specific purpose. Most people don't want to spend time preparing an elaborate meal right after coming back from the gym, and "drinking your calories" is definitely a valid strategy to get additional calories in. But generally speaking, solid foods are so much more mouth-watering and satiating, especially warm foods. There's still an element of convenience when eating prepared food. Instead of making 6 meals, you're making one big pot of food, once. This chili meal can be done start-to-finish in under an hour. You go from cans to containers, then into the refrigerator or freezer, and you've just made 6 full meals. Do this once or twice per week, and it will simplify meal-making. Call it "Meal-Prep-Sunday", get it done, and now you've got food for a week waiting to be enjoyed! The small investment of time will be appreciated at each tasting.
That's All I Got For Now!
Something, something...
TOO DAMN SKINNY!!!


